 LNEYA 산업용 냉각기 제조업체 공급 업체


Chiller Refrigerant Charging: Tools, Steps and Tips

최근 블로그
- 4 Types of Refrigeration Systems Which One Fits Your Facility
- What is a VFD chiller VFD chiller vs Non VFD chiller
- What is a Gas Chiller
- What is a Scroll Chiller
- What is a Screw Chiller
- Chiller Refrigerant Charging Tools Steps and Tips
- Chiller Low Pressure Alarm 5 Common Reasons and Solutions
- Is r22 refrigerant still available for chillers
카탈로그
- 2025년 8월
- 2025년 7월
- 2025년 6월
- 2025년 5월
- 2025년 3월
- 2025년 2월
- 2025년 1월
- 2024년 12월
- 2024년 11월
- 2024년 10월
- 2024년 9월
- 2024년 8월
- 2024년 7월
- 2024년 6월
- 2024년 5월
- 2024년 4월
- 2024년 3월
- 2024년 2월
- 2023년 9월
- 2023년 7월
- 2023년 6월
- 2023년 5월
- 2023년 1월
태그
공냉식 냉각기 냉각기 냉각기 저온 조립 냉동고 냉각 냉각기 냉각 난방 순환기 냉각 난방 시스템 cooling system 동적 온도 제어 시스템 냉동고 난방 순환기 산업용 냉각기 산업용 냉각 산업용 냉동고 산업용 냉장고 재킷 리액터 저온 냉각기 뉴스 원자로 냉각기 원자로 냉각 원자로 냉각 가열 원자로 가열 냉각 냉장 서큘레이터 스크류 냉각기 반도체 냉각기 반도체 테스트 냉각기 sundi tcu 온도 제어 테스트 챔버 온도 조절기 초저온 냉각기 차량 테스트 냉각기 물 냉각기 수냉식 냉각기
문의하기
Most chiller manufacturers sell their units pre-filled with 냉매. Upon receipt, users only need to connect the piping, charge the coolant, and plug in the power cord before use. However, some users who have already purchased their own refrigerant or have existing stock may choose to save money by purchasing pre-filled chiller units and then filling them themselves.
How do you properly charge a chiller with refrigerant? This article explains the common tools, detailed steps, and precautions required during the charging process.
1. Preparing Refrigerant Charging Tools
Preparing the refrigerant charging tools in advance can save you significant time. Common tools recommended by our engineers include:
• Refrigerant charging equipment: such as a manifold gauge set, charging hose, and refrigerant tank
• Vacuum pump: for extracting air and moisture from the circulation system
• Electronic scale: for accurately charging the refrigerant
• Safety equipment: gloves and goggles
2. Checking the Chiller
Before charging refrigerant, ensure the chiller is functioning properly and the power cord is off. Professionals will use soapy water or an electronic leak detector to check for leaks. Avoid further malfunctions caused by refrigerant leaks after refrigerant filling.
3. Connecting Equipment
After ensuring that the equipment is not faulty, connect one end of the charging hose to the refrigerant tank and the other end to the low-pressure port of the manifold gauge.
4. Vacuuming
Open the pressure gauge and start the vacuum pump to remove all air and moisture from the system. This process typically takes 15-30 minutes, until the pressure reaches below -0.1 MPa. Then, turn off the vacuum pump and pressure gauge. Importantly, turn off the pressure gauge before turning off the vacuum pump to ensure the system remains under vacuum.
5. Charging Refrigerant
During the refrigerant charging process, it is important to constantly monitor the charge level, so a digital scale is required. Before charging, place the refrigerant tank on the scale and record the initial weight.
Then, invert the tank and slowly open the valve to begin charging. During this process, carefully monitor the pressure gauge to ensure the low-pressure side pressure is within the normal range (usually between 0.4 and 0.7 MPa).
More refrigerant isn’t always better. The charge volume should be strictly controlled according to the chiller’s specifications and manufacturer’s recommendations. You can use a digital scale to monitor the weight of the refrigerant being charged to ensure it’s within the normal range.
6. Check System Operation
After charging is complete, close the refrigerant tank valve, disconnect the charging pipe and pressure gauge. Then, start the chiller and verify normal operation. This can be determined by observing the pressure gauge reading and the system’s cooling performance.
7. Check for Refrigerant Leaks
Although pre-charging checks are already performed, a helium test and pressure hold check after charging are also essential. After starting the system, check all system connections for refrigerant leaks.
8. Record Data and Organize Tools
To facilitate subsequent maintenance and management, you should record the type, weight, and operating pressure of the refrigerant charged. Additionally, close all valves, organize charging tools and equipment, and ensure a clean and tidy workspace.
9. Precautions
• When charging refrigerant, always follow relevant safety regulations and avoid direct contact with the refrigerant to prevent frostbite.
• Pay close attention to pressure changes during the charging process to ensure the system operates within a safe range.
• If you are unfamiliar with the operation, it is recommended that you consult a qualified technician to perform the charging.
결론
Need help with chiller refrigerant charging or troubleshooting cooling performance? Contact LNEYA’s technical team for expert support.
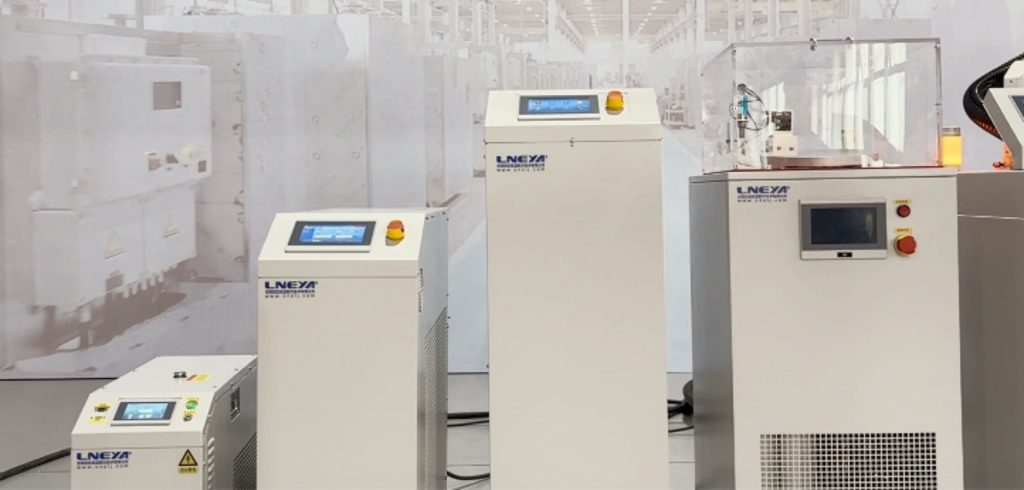
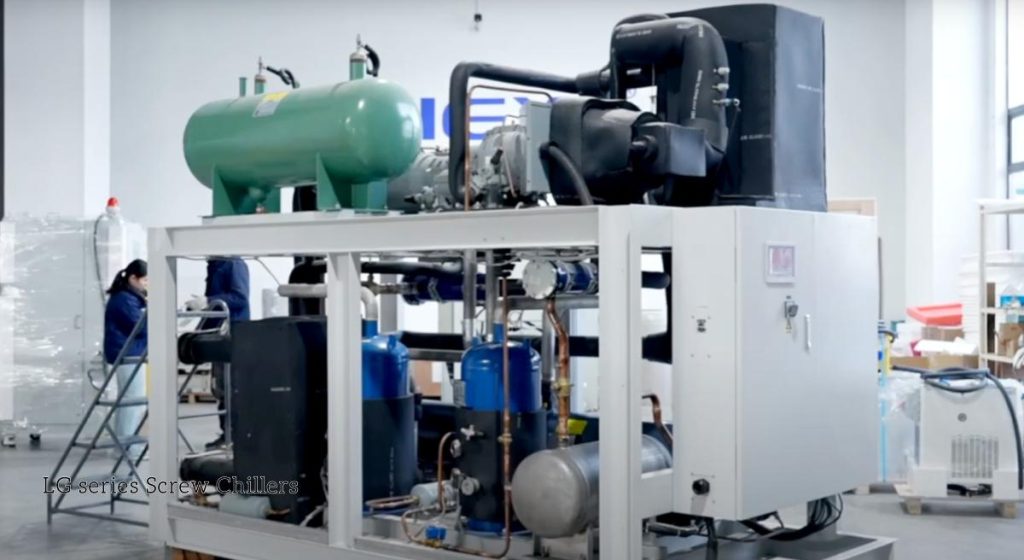
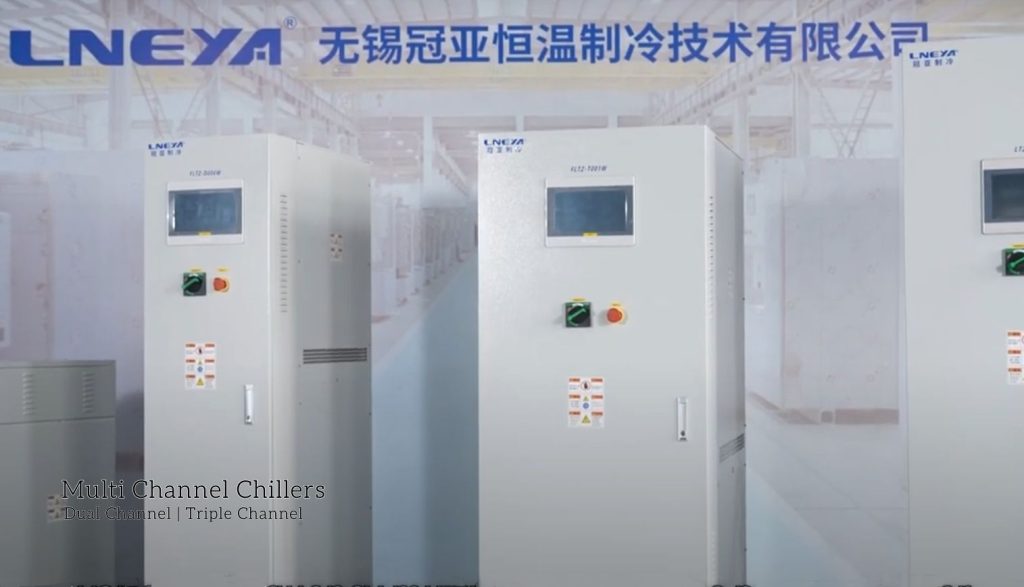
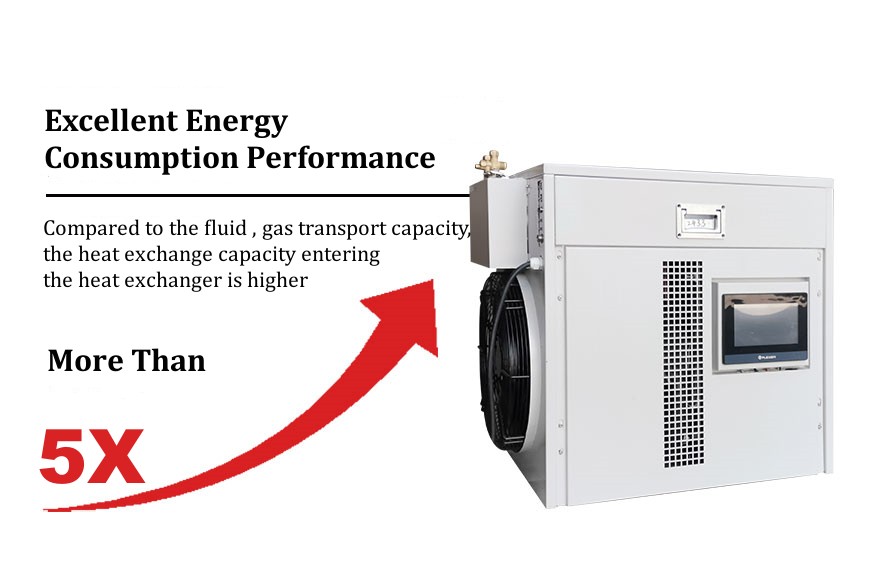
Related Chillers


문의하기
TEL:전화
이메일: 이메일
위챗 및 왓츠앱:

Wechat QR

문의 사항이 있으시거나 견적이 필요하신가요? 아래 양식을 작성해 주시면 저희 팀이 24시간 이내에 답변해 드리겠습니다.

